
Image Overlay merge and watermark professional edition allows you to create different image effects in simple steps. This short tutorial will discuss how to combine image effects to produce an attactive photo image that can be used for different purposes.
Step 1:
Click on the “Settings” tab and ensure the settings are as below:

Select “Setting 3”
Click on “Select Color” button and select “Red color” Click “OK” button and Enter a border thickness of “50”. All should now appear as below:

Step 2:
Tab into the “Single image mode” , click on the “Browse” button and select the image as shown below – “Images are present under the Tutorials folder present in the software default installation folder”.

Click on “Open”
Step 3:
All now should appear as below

Click on the “Overlay” button and the result should be displayed as below

Step 4:
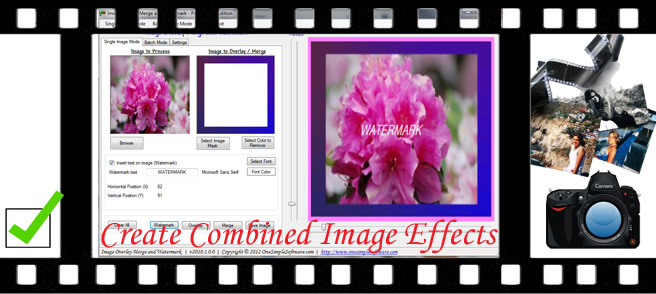
Activate the text watermark and insert the text
Step 5:
Click on “Watermark” button, then, adjust the track bars to position the text as shown below:

Step 6:
Tap into the “Settings” screen and change the Image overlay options to “Overlay setting 2”
Step 7:
Tab back to the single image mode and click on “Select image mask” button. Select the template shown below, Click “Close”

Step 8:
Click on “Overlay” button to see the resulting image
Step 9:
Tab in to the “Settings” screen,
+ Check “Add a second image” then browse to the “tutorials” folder and select the same image
+ Adjust the size of the image to 168 x 224 and select a position
+ Check “Allow Multiple image overlay”
+ Click on the “Overlay Image” button to overlay the image
Your setting screen should look as below:

After overlaying the image several times in different positions the image below can be viewed:

Using this method you can combine several effects.